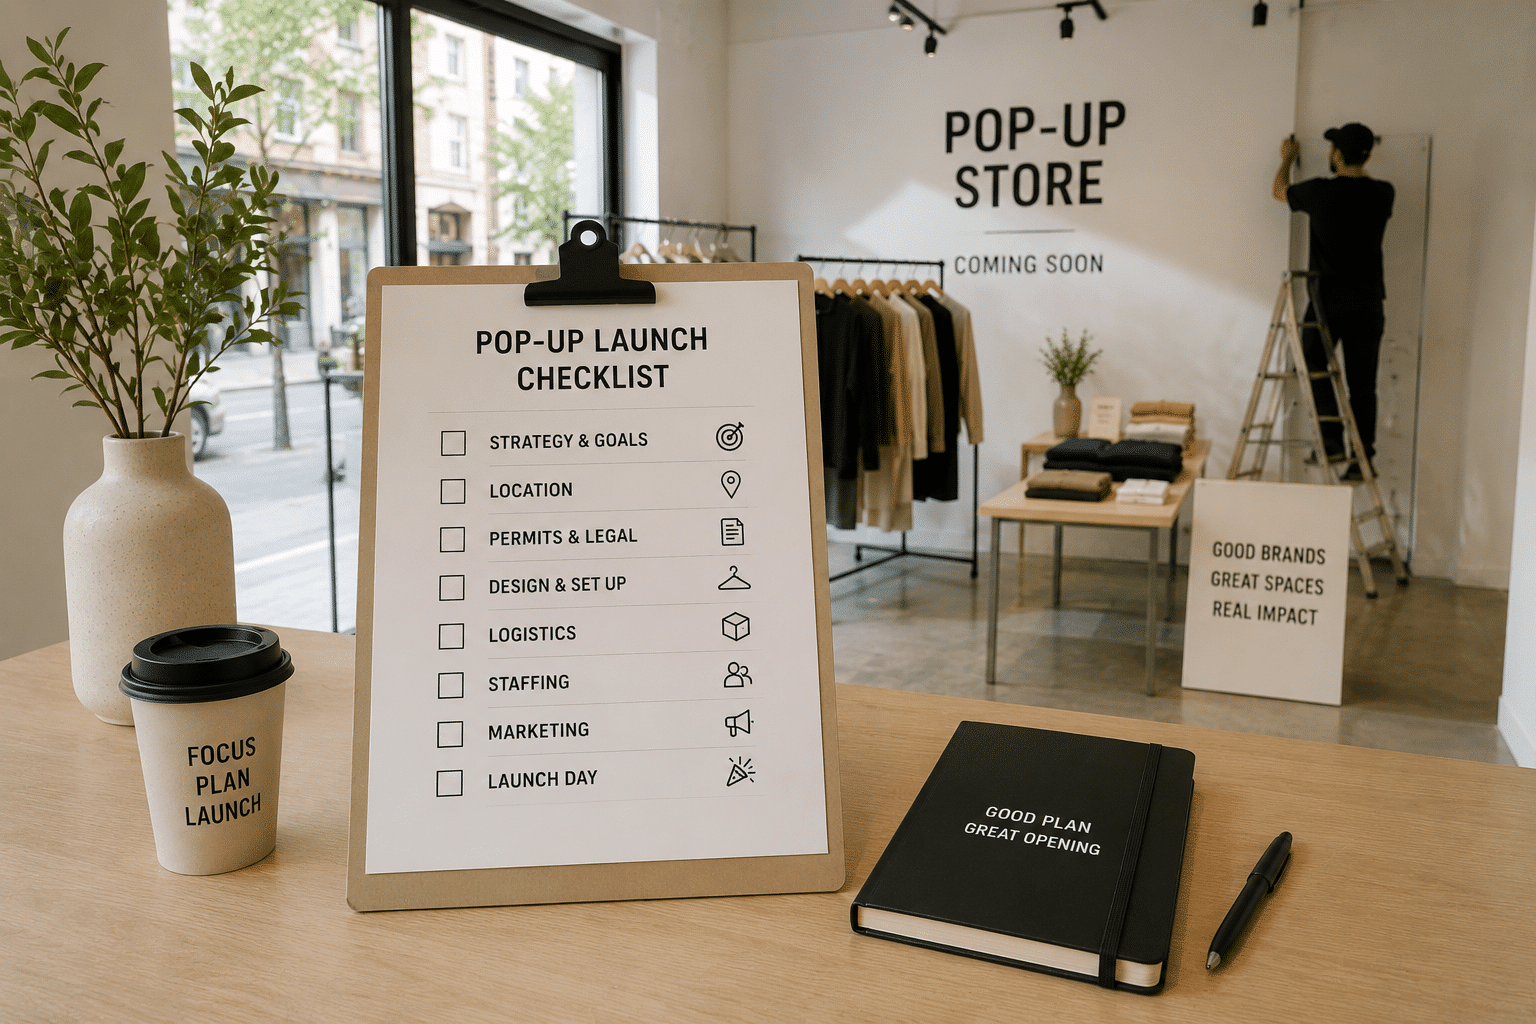

Launching a pop-up store in 30 days is possible if the project starts with the decisions that can actually block the timeline.
One of the most common mistakes is to begin with furniture, window displays or launch campaigns before the objective, audience, budget, location and operational requirements are clear.
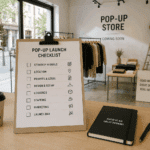
When you only have a month, sequence matters. This checklist divides the project into four weeks so strategy and venue selection are resolved before production, communications and opening begin.
Before you start: can a pop-up be launched in 30 days?
Yes, but not every project can follow the same schedule. A relatively simple pop-up in a fitted venue can be prepared in a few weeks. An activation involving major works, custom production, complex technical installations, specific permits or international logistics will need more time.
This 30-day plan is designed for projects whose scope, venue and operations are compatible with an accelerated process. For more complex concepts, use the same phases but extend the timeline.
If you are still defining the format, start with our guide to what a pop-up store is and what it can achieve.
Week 1: strategy and venue
The first week should resolve the decisions that shape everything else. Do not start by looking for a “nice space”. Start by defining what the venue needs to achieve for the brand.
Day 30: define one primary objective
Every pop-up needs a clear reason to exist. It may be to generate sales, launch a collection, introduce a product, enter a new city, test a market, build awareness, bring a community together, create content, attract press or validate a future permanent store.
You can have secondary objectives, but one should lead. A pop-up designed to maximise sales is planned differently from an activation focused on PR or lead generation.
The objective will shape location + venue + duration + production + team + KPIs.
Day 30 checklist
- Primary objective defined.
- Secondary objectives prioritised.
- KPIs established.
- Expected outcome documented.
Day 29: define the audience
Be specific about who needs to walk through the door: existing customers, new consumers, tourists, residents, press, creators, buyers, partners or a local community.
The answer directly affects location. An activation aimed at press and buyers can work in a showroom with limited walk-in traffic. A store designed to acquire new customers needs a different approach.
Day 29 checklist
- Primary audience defined.
- Secondary audiences identified.
- Need for walk-in traffic assessed.
- Relevant days and times analysed.
Day 28: set the total budget
Do not define only the maximum rent. Define the total investment available for the project.
A useful structure is venue + design + production + operations + logistics + marketing.
Include rent, furniture, branding, staff, transport, insurance, permits, POS, audiovisual, cleaning, installation, dismantling, content, paid media and PR. Keep a contingency reserve.
Day 27: choose the city and neighbourhood
With objective, audience and budget clear, you can select the city and micro-location. Review audience profile, footfall, accessibility, neighbouring businesses, daily and weekly patterns, cost and local calendar.
Do not choose a neighbourhood because it is fashionable. Choose it because its audience and context support the project’s objective.
Day 26: build the venue brief
Before searching, document:
- City and preferred area.
- Dates and duration.
- Maximum venue budget.
- Approximate size.
- Storefront and façade requirements.
- Storage and fitting rooms.
- Power, internet and toilets.
- Accessibility and loading access.
- Technical requirements.
- Planned activity.
Separate criteria into must-have and nice-to-have.
Days 25–24: search and compare venues
With the brief finalised, begin the search. For a UK activation, for example, you can compare pop-up spaces in London.
Do not compare venues only on price. Review location, relevant footfall, visibility, layout, condition, included equipment, branding permissions, logistics, technical infrastructure and total cost.
Day 23: select the venue and validate feasibility
Before confirming the booking, answer one question clearly: can we actually execute the concept here?
Check permitted use, opening hours, capacity, branding, logistics, accessibility, facilities, restrictions, insurance and permits. Do not begin production until the venue’s constraints are understood.
Week 2: concept, design and production
Once the venue is selected, the strategy must become an executable plan.
Day 22: finalise the creative concept
Define how the experience should feel. The concept does not need to be complex, but it needs a coherent idea. Consider entrance, storefront, customer flow, product, interaction, content, purchase and exit.
Day 21: design the customer journey
Plan the full visit:
- The customer discovers the pop-up from the street.
- They understand what is happening.
- They enter.
- They discover the product.
- They interact.
- They buy or leave their details.
- They create or share content.
- They leave with a clear brand impression.
Do not design only a space. Design a sequence of behaviour.
Day 20: finalise the layout
Define entrance, circulation, displays, products, checkout, fitting rooms, storage, staff areas, experience zones, content points and possible queues.
The layout must balance aesthetics and operations. A striking installation that blocks customer movement is not good retail design.
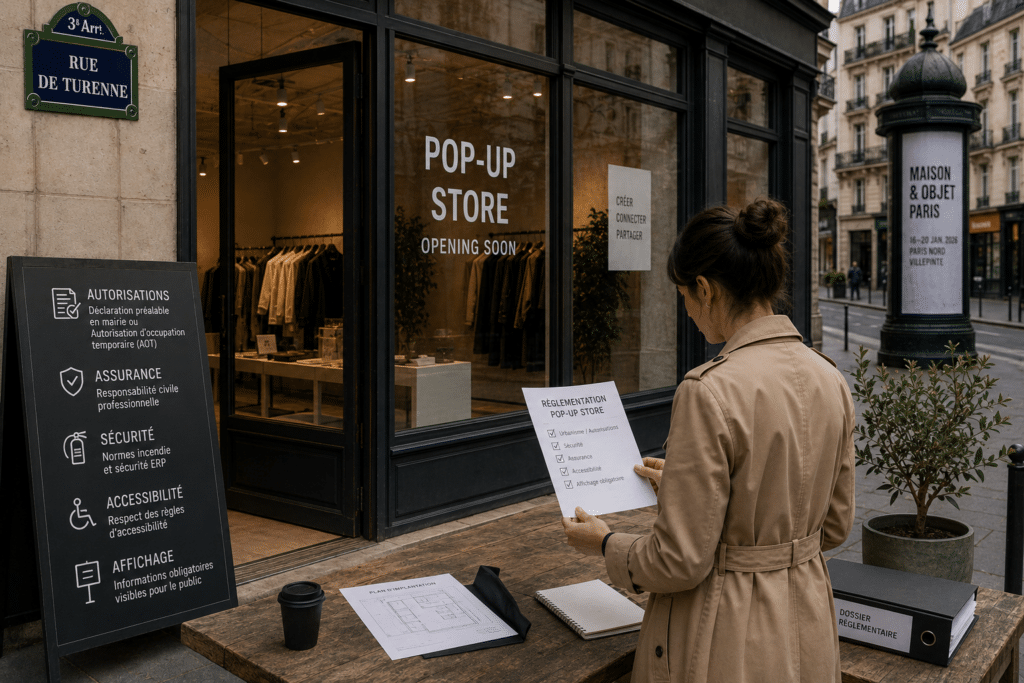
Day 19: validate permits, insurance and restrictions
Check whether the concept includes alcohol, food, music, entertainment, events, exterior installations, public-space use, alterations to the venue or external signage.
Temporary does not automatically mean permit-free.
Day 18: confirm suppliers
Assign responsibility for production and print, furniture, audiovisual, transport, installation, staffing, cleaning, security and dismantling.
For every supplier define owner + deliverable + deadline + cost.
Day 17: release production
Before manufacturing anything, verify measurements for windows, walls, floors, doors, ceiling heights, furniture and signage. A few centimetres of error can create major problems during a short installation window.
Week 2 control
- Concept approved.
- Customer journey defined.
- Layout finalised.
- Measurements verified.
- Branding approved.
- Permits and insurance reviewed.
- Suppliers confirmed.
- Production started.
Week 3: operations and launch preparation
Two weeks before opening, design and production should be well under way. The focus now moves from how the pop-up looks to how it will operate.
Day 14: plan stock
Calculate opening inventory, best sellers, sizes, variants, replenishment, safety stock and storage. Define who controls inventory throughout the activation.
Day 13: configure payments and technology
Test POS, terminals, connectivity, devices, printers, CRM and lead capture before arriving on site.
Opening day should not be the first time the team uses the system.
Day 12: confirm the team
Define how many people are needed and what each person does: store management, sales, hosts, security, technical support, production and project management.
Assign clear responsibilities and nominate one person with decision-making authority on site.
Day 11: prepare operating procedures
Document opening, closing, replenishment, returns, incidents, payments, cleaning, stock control and emergencies.
You do not need a hundred-page manual. You need the team to know what to do when something does not go according to plan.
Day 10: activate communications
A pop-up should not depend only on spontaneous footfall. Build demand before opening through email, social, paid media, PR, creators, partners, community channels and CRM.
Communicate clearly what + where + when + why it is worth visiting.
Day 9: prepare the content plan
Define content for before, during and after the activation: announcement, countdown, setup, opening, products, visitors, UGC, interviews and recap.
A temporary venue offers a limited content window. Plan it before it disappears.
Day 8: confirm guests and partners
If there is an opening event, confirm guest list, press, creators, partners, customers and key stakeholders. Define who manages invitations, confirmations and access.
Week 3 control
- Stock and replenishment planned.
- Payments and technology tested.
- Team and roles confirmed.
- Operating procedures prepared.
- Communications live.
- Content plan ready.
- Guests confirmed.
Final week: coordination, installation and opening
The final week is not for major creative decisions. It is for checking, coordinating and executing.
Day 7: review the entire project
Run a cross-functional review of venue + production + people + stock + technology + marketing + logistics. Identify anything that still lacks an owner, deadline or confirmation.
Day 6: confirm logistics
Finalise delivery windows, transport, access, loading, storage, collection and dismantling. Share final information with everyone involved.
Day 5: confirm production
Check graphics, vinyls, furniture, signage, lighting, audiovisual, materials and packaging.
Day 4: brief the team
Everyone should understand the brand, product, objective, customer journey, opening hours, roles, procedures and KPIs.
Day 3: prepare the installation plan
Create a specific run of show. Define who arrives when, what enters the venue first, which suppliers depend on others, who approves each phase, when technology is tested and when final cleaning takes place.
Day 2: installation
During setup, check measurements, finishes, lighting, branding, product, technology, safety, circulation and cleaning. Document and assign any issue immediately.
Day 1: test everything
Run a full simulation:
- Is the concept clear from outside?
- Does the entrance work?
- Is the customer flow natural?
- Is the product presented correctly?
- Do POS and internet work?
- Do screens and sound work?
- Does the team know what to do?
- Is the venue clean and fully stocked?
Complete a test purchase from start to finish.
Day 0: open the pop-up
Opening is not the end of the work. Start collecting data from the first day.
What to measure during the pop-up
Retail
- Visitors.
- Sales and conversion rate.
- Average transaction value.
- Units per transaction.
- Best-selling products.
Marketing
- Leads and sign-ups.
- UGC.
- Reach and press coverage.
- Creator content.
Customer behaviour
- Peak traffic periods.
- Most tested products.
- Recurring questions.
- Dwell time.
- Price response.
Market testing
- Customer profile.
- Local demand.
- Response to location.
- Repeat potential.
- Interest in a permanent store.
Define these KPIs before opening.
Final checklist before opening
- Strategy: objective, audience, KPIs, budget, city, area and dates.
- Venue: booking, layout, branding, logistics, technical requirements and accessibility.
- Compliance: permitted use, permits, licences and insurance.
- Production: design, measurements, graphics, furniture, signage, AV and installation.
- Operations: stock, POS, internet, staff, security, cleaning and procedures.
- Marketing: social, email, paid media, PR, creators, guests and content.
- Measurement: sales, traffic, leads, feedback and reporting.
What happens after the pop-up?
Closing the doors does not mean the project is finished. Plan time for dismantling, venue handover, supplier close-out, inventory review, content collection, results analysis and documented learnings.
The final question should be: what do we know now that we did not know before opening?
The answer can help decide whether to repeat the activation, change neighbourhood, test another city, extend the duration, change the format or explore a permanent store.
From checklist to execution
A checklist structures the project. Delivering a pop-up in 30 days also requires coordinating venue, suppliers, production, logistics and operations within a tight timeline.
Go—PopUp supports both temporary venue search and projects that need additional scouting, adaptation, production and execution support. For more complex activations, share the brief with the Go—PopUp agency.